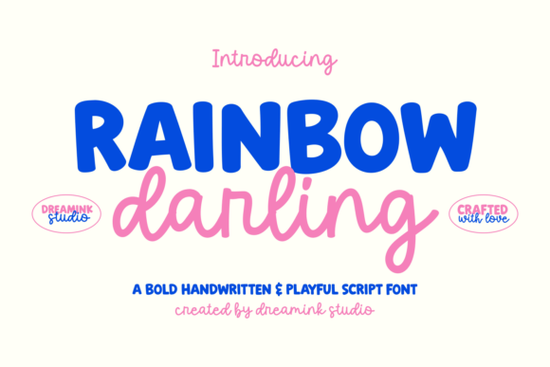
If you have been searching for a typeface that balances bold urban energy with handcrafted warmth, the Rainbow Darling Duo Font delivers exactly that. Instead of matching two separate files, this ready-made pair comes pre-tested for visual harmony. The heavy, rounded sans-serif carries your main message with confidence, while the light monolinear script adds a personal signature beneath it. You can drop these straight into your design software and start creating without spending hours adjusting kerning.
Why does pairing a chunky block letter with a thin script actually work?
Type design relies on contrast, but not every combination survives close inspection. This specific duo avoids visual clash by keeping both styles grounded in the same rhythm. The thick strokes create a strong silhouette, while the delicate looping script offers breathing room around the dense letterforms. When you place the smaller characters underneath the heavier shapes, your eye naturally follows a clear path downward. Crafters notice how this layout reduces clutter on merchandise mockups, and small business owners appreciate how the contrast keeps branding legible at thumbnail size.
Where should you apply this display pair in your projects?
The built-in versatility means you rarely need extra embellishments. Youth-oriented apparel lines use the bold component for chest graphics, letting the lighter handwritten portion handle taglines. Product packaging benefits from the same split approach, where sturdy lettering communicates the brand name and the fluid script suggests artisan quality. Social media quote graphics gain immediate attention when the heavy font anchors the key phrase, leaving space for the softer counterpart to carry the emotional tone. Boutique event stationery takes advantage of the modern feel, especially for menu cards or party favors that need to feel personal.
How do you manage spacing and hierarchy without losing readability?
Avoid cramming too many lines together, since display typefaces thrive on negative space. Leave a comfortable gap between the stacked components to prevent the thick strokes from bleeding into the descending loops. If you are working on layered designs or sublimation transfers, test your files at actual print dimensions before finalizing. Scaled-down previews often hide alignment issues that become obvious once you export the vector. Keeping the script slightly offset to the right or center-aligned under the main block usually creates a balanced composition that feels intentional.
What alternatives fit this same creative direction?
Exploring other display collections helps you build a cohesive library when different projects demand slight variations. You might enjoy checking out the playful geometric style for vintage-inspired posters, or experiment with the layered dimensional effects when you need 3D extrusions without complex tracing. For softer brush textures that still maintain strong visual weight, there are reliable backups available, while rounded lifestyle aesthetics bring sweetness to casual branding. For detailed file breakdowns and license verification, you can view the complete style guide before adding anything to your cart.
Which tools and formats work best for this file set?
Most commercial packages now include OpenType and TrueType versions alongside web-ready subsets. Designers typically open them directly in graphic editors to trace paths for vinyl cutting and embroidery machines. Print-on-demand sellers favor transparent PNG exports at three hundred dpi for mockup placement, while POD vendors accept standard PDF uploads. Before uploading any marketplace template, verify that all glyphs render correctly after saving. A quick preview in your intended output resolution prevents white-box surprises during client proofing.
If you want to browse additional character sets and explore bonus weights from the same creator network, you can visit Rainbow Darling Duo Font to review the full download directory and licensing terms.
Quick checklist before you start designing:
- Open both font files and confirm they support the punctuation marks your project requires.
- Set your working canvas to at least three thousand pixels on the longest side for crisp commercial prints.
- Add a safety margin of half an inch around cut-lines when preparing files for die-cutting machines.
- Test color contrast against your background to ensure the light script remains visible on dark substrates.
- Save a non-destructive copy with editable text layers before exporting raster images for social posting.
 Sweet & Stylish Fonts for Design Projects
 Wavy Stacked Fonts for Design Projects
 Create Varsity Sport Army Font Projects & Logos
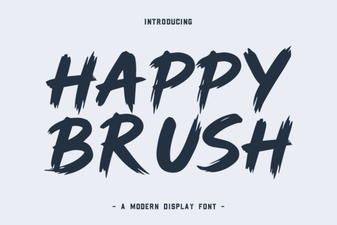 Happy Brush Font: Creative Design Projects
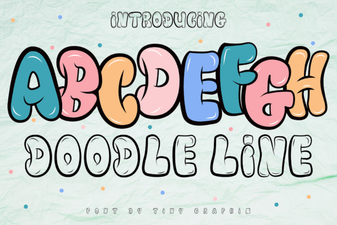 Doodle Line Fonts: Free Download and Creative Uses
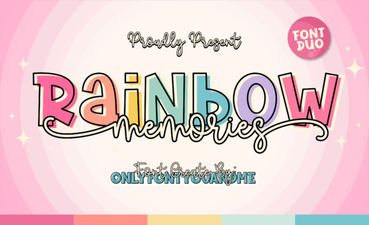 Rainbow Memories Font: Crafting Creative Projects